Introduction
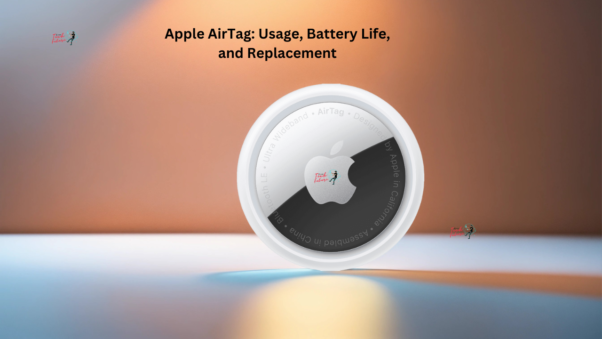
Apple AirTags have revolutionized the way we keep track of our belongings. Whether it’s your keys, wallet, backpack, or even your luggage during travel, these small devices ensure you always know where your items are. In this article, we’ll delve into my experience with AirTags, focusing on battery life, how to check if a replacement is needed, the type of battery required, and a step-by-step guide to replacing it.
My Experience with Apple AirTags
I purchased my first set of AirTags after Apple released them, and they quickly became indispensable. One of the first significant uses was during my move from the United States to Brazil. I placed AirTags in several boxes I shipped and inside my luggage, allowing me to track everything throughout the journey. This feature provided immense peace of mind, knowing exactly where my belongings were at all times.
Tracking with AirTags
Using the Find My app, you can track any item with an AirTag attached. The app provides real-time location updates, whether it’s a bike, keys, or a backpack. During my move, for example, I could see my boxes moving from one distribution center to another, and track my luggage during flights.
Battery Life of Apple AirTags
Apple states that the AirTag battery lasts a little over a year. In my experience, they lasted approximately a year and a half. However, it’s crucial to keep an eye on battery life to ensure continuous tracking capabilities.
How to Check AirTag Battery Life

- Notification on iPhone: The first sign that your AirTag battery is low will be a notification on your iPhone. When you receive this notification, it’s best to replace the battery immediately to avoid losing track of your item.
- Find My App: You can also check the battery status directly in the Find My App:
-
- On your iPhone, use the Find My app.
- Tap on the “Items” tab.
- Look for your AirTags in the list. If a battery is low, an icon will appear next to the AirTag’s name.
Replacing the AirTag Battery
Which Battery to Use
Apple AirTags uses a CR2032 lithium 3-volt coin battery. This battery type is readily available and can be purchased from various retailers, including Amazon. Make sure to have a spare pack on hand for quick replacements.
Step-by-Step Battery Replacement Guide
- Open the AirTag: Press down on the stainless steel battery cover of your AirTag and rotate it counterclockwise until it stops. The cover will pop off, allowing you to access the battery.
- Remove the Old Battery: Take out the old battery and set it aside.
- Insert the New Battery: Place the new CR2032 battery into the AirTag with the positive side facing up.
- Close the AirTag: Align the battery cover, press it down, and rotate it clockwise until it locks into place. You will hear a sound indicating the battery is correctly installed.
- Verify the Replacement: Open the Find My app to ensure the low battery icon has disappeared, confirming the new battery is functioning correctly.
Conclusion
Apple AirTags are a fantastic tool for keeping track of your valuable items. By understanding the battery life and knowing how to check and replace the battery, you can ensure your AirTags always perform at their best. If you have any questions or want to share your experiences with AirTags, feel free to leave a comment. Your insights might help other users as well.

